Step by Step Approach to create DAPP — using Ethereum, ReactJS & IPFS — Part 3 (Final Part)
Step by Step Approach to create DAPP — using Ethereum, ReactJS & IPFS — Part 3 (Final Part)

In my last article, we saw how to get ABI & Contract Address, so let’s continue with step 8..
Step 8 : Initialize IPFS Daemon, & integrate that logic in ReactJS
Step 9: Run ReactJS Application
Step 10: Ensure MetaMask & Ganache are in Sync
Step 11 : Trigger “Write” Transaction via reactJS Application & pay Gas Fee to submit the transaction via MetaMask
Step 8: Initialize IPFS Daemon, & Integrate that logic in reactJS
There are two ways, you can initialize IPFS. One, you can use your localhost to start the IPFS Daemon or use the IPFS.Infura.io node. Since, Infura is popular & easy to integrate we will go with this option here
Setting up IPFS Daemon Locally
(If you want to try local IPFS Daemon, follow below steps )
- Download IPFS -> https://docs.ipfs.io/introduction/install/
- Check if you have installed IPFS successfully using “ipfs help” command in terminal
- “ipfs init” -> this command will initialize the IPFS daemon
Steps to setup IPFS infura
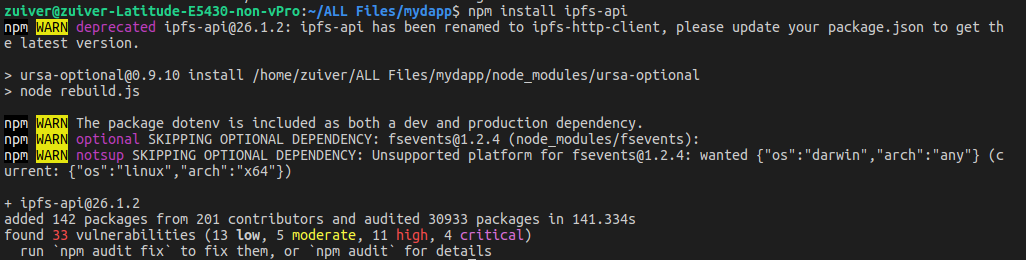
- Open your terminal and run the following command to install ipfs-api npm package.

2. Create a file ipfs.js and copy paste below contents
const IPFS = require(‘ipfs-api’);const ipfs = new IPFS({host: ‘ipfs.infura.io’, port: 5001, protocol: ‘https’ });export default ipfs;

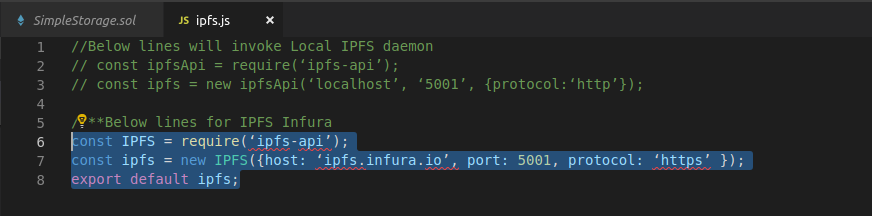
Explanation of IPFS file : This is js file which has three lines, first line importing the ipfs-api module and we are assigning that into a variable called IPFS(user defined) , after that I am adding three parameters such as host, port, protocol to initialise the ipfs and connect our program to ipfs infura. So basically this is default values which you can use it as well, finally we are exporting this file in the name of ipfs.
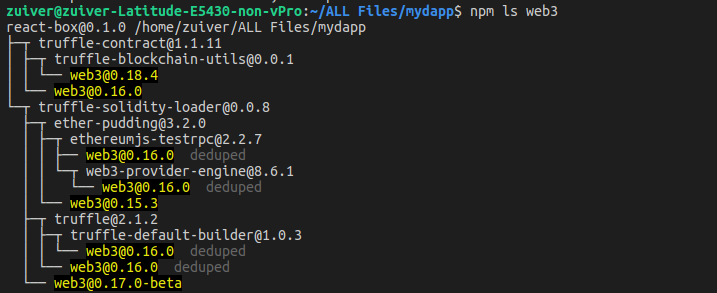
3. Make sure, you have installed latest version of web3 package. To review your web3 version, type following command from your project root folder(terminal) — npm ls web3

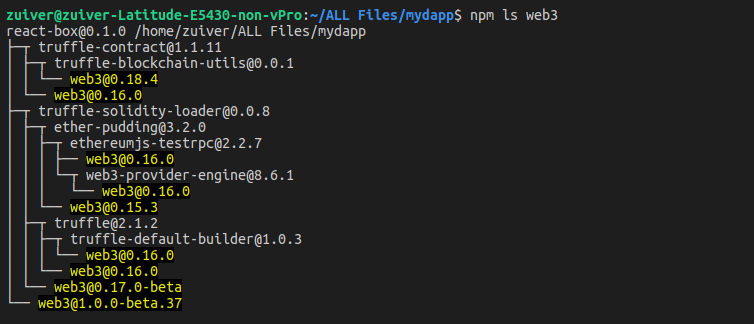
4. if you don’t have latest version like above?, then type following command to install latest version — npm install web3 & once after that(successfully installed), then type again — npm ls web3 like below

Now all set to integrate all these together and create out react-app. Please ensure you have following ready…
a) ipfs.js
b) web3.js
c) storeMyValue.js
d) App.js -> we will create this now
Copy below program into your App.js
import React, { Component } from 'react';
import './App.css';
import web3 from './web3';
import ipfs from './ipfs';
import storeMyValue from './storeMyValue';class App extends Component {state = {
ipfsHash:null,
buffer:'',
transactionHash:'',
gasUsed:'',
txReceipt: '' ,
};captureFile =(event) => {
event.stopPropagation()
event.preventDefault()
const file = event.target.files[0]
let reader = new window.FileReader()
reader.readAsArrayBuffer(file)
reader.onloadend = () => this.convertToBuffer(reader)
};convertToBuffer = async(reader) => {
//file is converted to a buffer for upload to IPFS
const buffer = await Buffer.from(reader.result);
//set this buffer -using es6 syntax
this.setState({buffer});
};onSubmit = async (event) => {event.preventDefault();
console.log("web3 value is ",web3.eth.getAccounts());
const accounts = await web3.eth.getAccounts();
console.log('Sending from Metamask account: ' , accounts[0]);
const ethAddress= await storeMyValue.options.address;
this.setState({ethAddress});await ipfs.add(this.state.buffer, (err, ipfsHash) => {
console.log(err,ipfsHash);
this.setState({ ipfsHash:ipfsHash[0].hash });storeMyValue.methods.set(this.state.ipfsHash).send({
from: accounts[0]
}, (error, transactionHash) => {
console.log("transaction hash is ",transactionHash);
this.setState({transactionHash});
});
})
};render() {return (
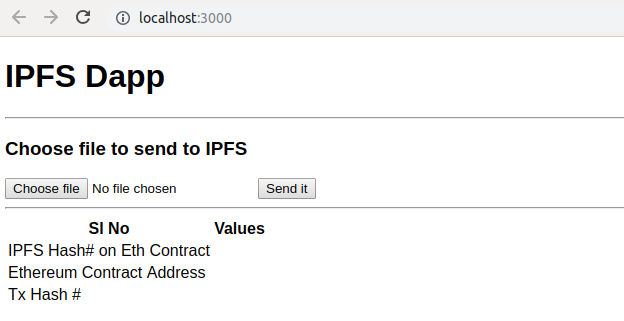
IPFS Dapp
Choose file to send to IPFS
| Sl No | Values |
|---|---|
| IPFS Hash # stored on Eth Contract | {this.state.ipfsHash} |
Ethereum Contract Address
{this.state.ethAddress}

Tx Hash # {this.state.transactionHash}
}
}export default App;
Once done, ensure the following
- Ganache is running
- Contract has been deployed using below command
truffle migrate — network ganache — reset — compile-all
- Metamask has been setup
Step 9 & 11: Run reactjs application & Trigger “Write” Transaction via reactJS Application & pay Gas Fee to submit the transaction via MetaMask
- Type following command from your root folder to trigger the react app
npm start
it will trigger the react app and should open through localhost:3000 like below. If you don’t see like below and just empty screen, then go to Step 10

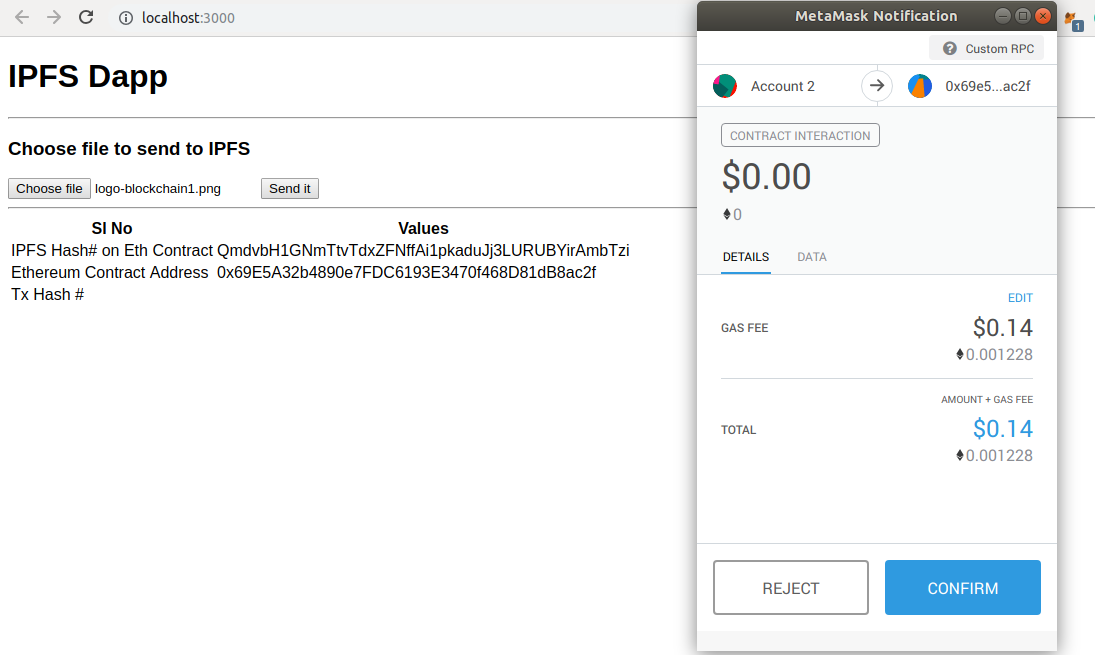
else, Click “choose file” then choose the file you wish to upload into IPFS, then click “Send it”, this will do the following
- Convert the file into buffer & store thebuffer into IPFS
- IPFS will return Hash Key
- Hash Key will be stored by calling “storeMyValue.methods.set” function, this will trigger Metamask where you need to “Confirm” the transaction
- It gets written in Ethereum Contract & in return you get “Transaction Hash” Like below


Step 10: Sync your Metamask with Ganache
please ensure that your metamask is mapped with RPC(http://127.0.0.1:7545) here 7545 is a network id from Ganache


If you are able to reach till Step 11 without any issues!, pat yourself back!!. Well DONE!!.. Now, you have a very simple Dapp, which connects with IPFS and store the data into Ethereum Contract in local blockchain(Ganache).
Note : Whenever you close “Ganache”, all the work you have done will be gone, so you may have to re-do the contract deployment. Also when you re-deploy keep a note on “Contract Address” & sync that in “storeMyValue.js” file.
— — — — — — — — — — — End of the Series — — — — — — — — — — — — -
— — — — — — — — — — — — — — — — — — — — — — — — — — — — — — -
Possible Errors you might hit :
MetaMask — RPC Error: Error: Error: [ethjs-rpc] rpc error with payload {“id”:1231999223603,”jsonrpc”:”2.0",”params”:[“0xf8ec058504a817c8008301f7919469e5a32b4890e7fdc6193e3470f468d81db8ac2f80b8844ed3885e0000000000000000000000000000000000000000000000000000000000000020000000000000000000000000000000000000000000000000000000000000002e516d5568345a48433436724653487262553938586679355034346e4572734566446932347536653178784b687366000000000000000000000000000000000000822d45a0a9f7ccd62d69d55a4dafe36878702568282fb1214e6f198714342c9cf6d63883a02360d5ae5510e1c4c6d8c88bc4a6cc74c286863697f729df970bd540aa58f797”],”method”:”eth_sendRawTransaction”} Error: the tx doesn’t have the correct nonce. account has nonce of: 4 tx has nonce of: 5 {code: -32603, message: “Error: Error: [ethjs-rpc] rpc error with payload {…nonce. account has nonce of: 4 tx has nonce of: 5”}
Solution : Just open your metamask, change the “Account” and refresh your react app, then submit
Note : Like this article?, give Logeswaran a thumbs-up(Claps) & follow him on Linkedin / Twitter
What's Your Reaction?